Booking choice: The photography tour, 6 to 9 hours. Book this Tour details
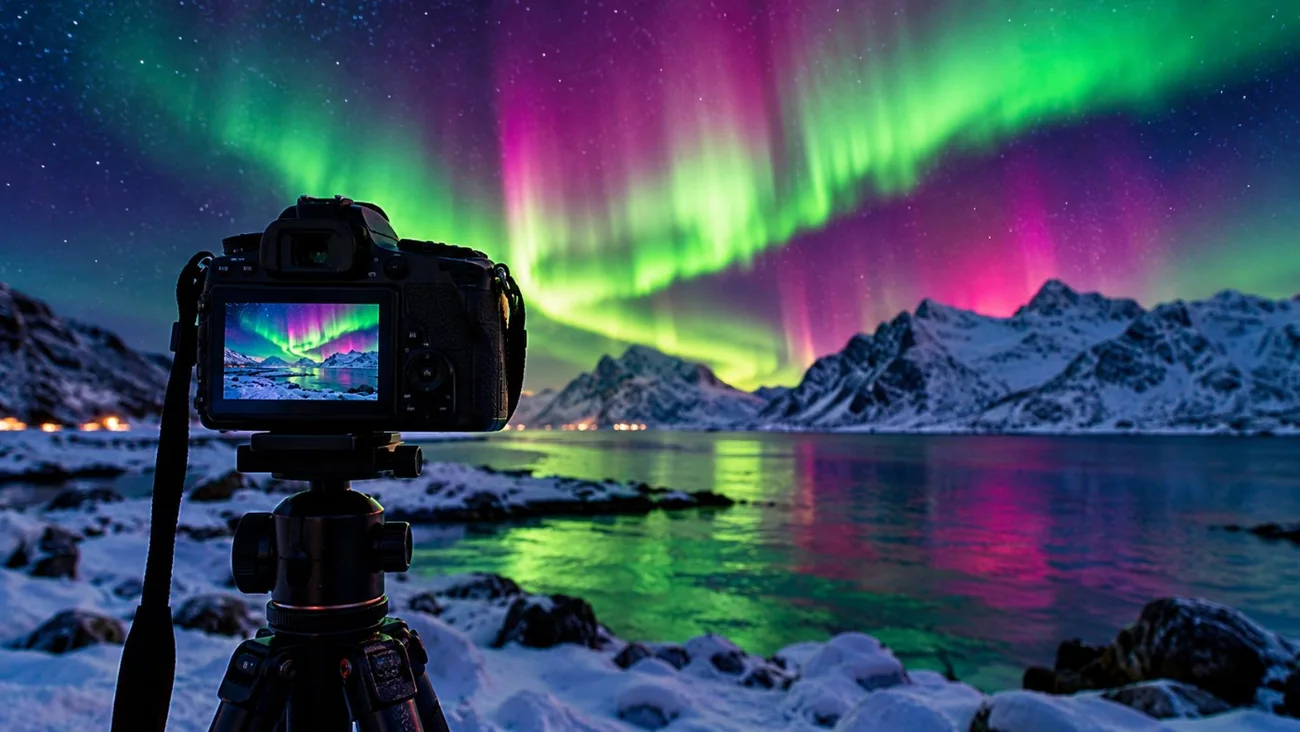
The northern lights photograph better than they look. A camera gathers light for seconds at a time and records colour that your eyes, in the dark, mostly can't see. That is good news for your photos and worth knowing before you stand in a field wondering why the sky looks grey.
This guide covers phones first, then cameras, then the cold, then composition, and ends with the tours that will set up your camera for you.
The quick answer
On a phone: turn the flash off, use night mode at its longest exposure, and rest the phone on something steady with the timer on. On a camera: tripod, widest aperture (f/2.8 or wider), ISO 3200 to 6400 (lower in moonlight), and 1 to 12 seconds depending on how fast the aurora moves, with manual focus set on a bright star. Shoot RAW, carry spare batteries in an inner pocket, and keep the camera in its bag when you come indoors.
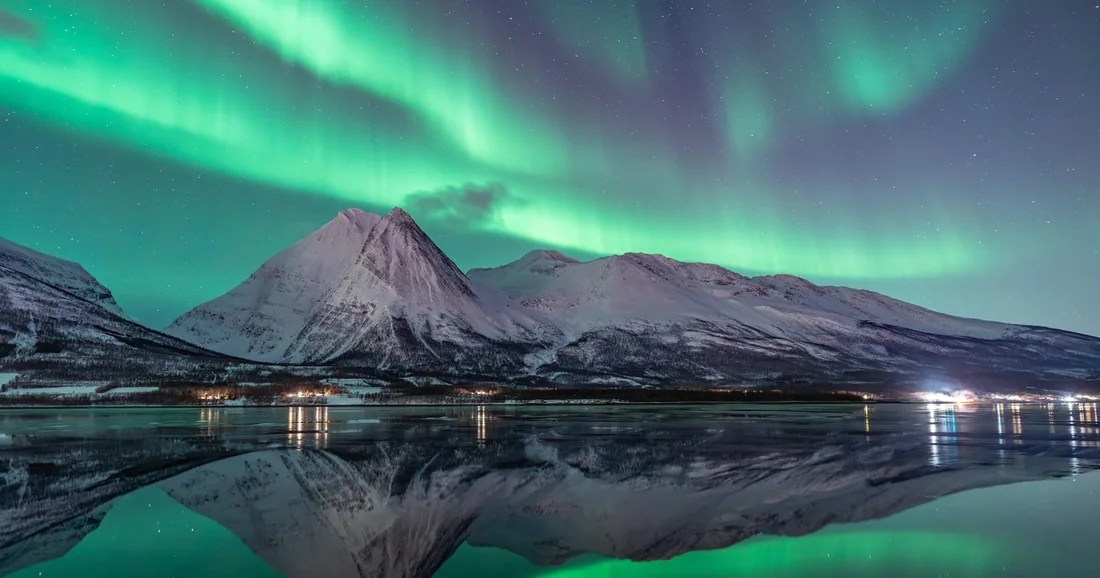
Can you photograph the northern lights with a phone?
Yes. Recent phones do it well in night mode: iPhone 11 and newer, Pixel with Night Sight or astrophotography mode, newer Samsungs with astrophoto mode.
The basics, from AP's smartphone tips:
- Flash off. It lights nothing but the snow at your feet.
- Night mode, longest exposure. On iPhone, tap the moon icon and drag the slider to Max. On Pixel, astrophotography mode can expose for up to four minutes on a tripod.
- Keep it still. A small phone tripod is best; a hat, a rock or a backpack works.
- Use the timer so your finger doesn't shake the shot.
Phones struggle with fast, bright displays and fine detail. For those, a camera is better, or a guide with one: most chases here send you their photos.
What are the best camera settings for the northern lights?
Start at f/2.8 or wider, ISO 3200 and 8 seconds, then adjust: shorter for fast aurora, lower ISO in moonlight or near town lights.
These starting points come from Capture the Atlas. Look at the first shot and its histogram, then change one thing at a time.
| Situation | Shutter | ISO | Aperture |
|---|---|---|---|
| Faint, still arc | 8 to 12 s | 3200 to 6400 | Widest (f/2.8 or below) |
| Bright, moving bands | 3 to 8 s | 3200 to 6400 | Widest |
| Fast, dancing display | 0.5 to 3 s | 6400 or higher if noise allows | Widest |
| Full moon or town lights | As above | 800 to 3200 | Widest |
| Entry-level crop sensor | As above | Keep to 6400 or less | Widest |
- Focus: manual. Zoom in on a bright star or a distant light in live view, focus until it is a sharp point, then leave the ring alone.
- White balance: around 3500K for natural colour.
- RAW: keeps detail in the sky and the dark foreground for editing.
- Turn off long-exposure noise reduction, and use a 2-second timer, or 5 in wind.
Learn this in the field: a small group, tripods and headlamps supplied, and a guide who sets up your own camera.
Book thisWhat gear do you need to photograph the northern lights?
A tripod, a wide lens (12 to 24 mm, ideally f/2.8 or faster), spare batteries, a headtorch with a red mode and thin gloves under warm mittens.
A sturdy tripod matters more than an expensive body. Wind on an open plateau shakes light travel tripods, so hang your bag from the centre hook. Fast wide primes at f/1.8 or wider give the cleanest results; a kit zoom at f/3.5 works on a bright night.
Several tours lend tripods: the photography tour (with headlamps), the long option of the no-limit chase, the Crystal Lavvo overnight and the Safari.
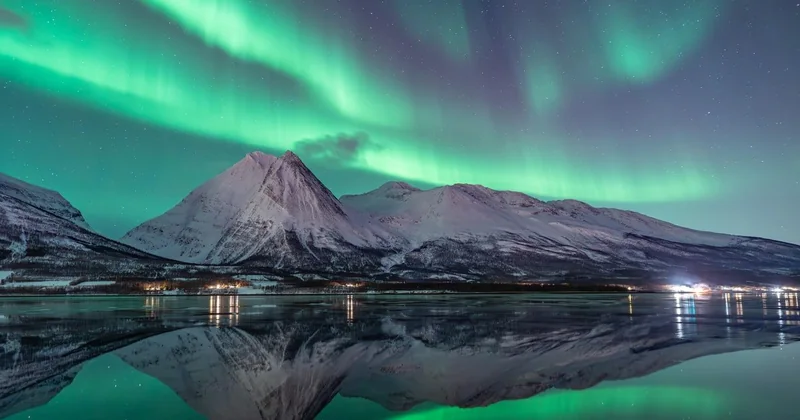
Hands-on help with your own camera settings, hot soup by a campfire, and free web-size photos after the night.
Book this Tour detailsWhy does the aurora look grey to the eye but green on camera?
Because in dim light your eyes switch to rod cells, which don't see colour. A camera keeps collecting colour for seconds. Strong displays are bright enough to look green, even pink, to the eye.
EarthSky explains it well: faint aurora often looks like pale grey cloud until you photograph it. Under the oval, as in Tromsø, overhead displays are frequently bright enough to show colour directly. If a grey streak appears on a clear night, take a test shot. Green on the screen means you are looking at the aurora.
Don't judge the night by the first ten minutes. Displays come in bursts, and a quiet grey arc can turn into a moving green curtain within minutes.
How do you keep your camera and batteries working in the cold?
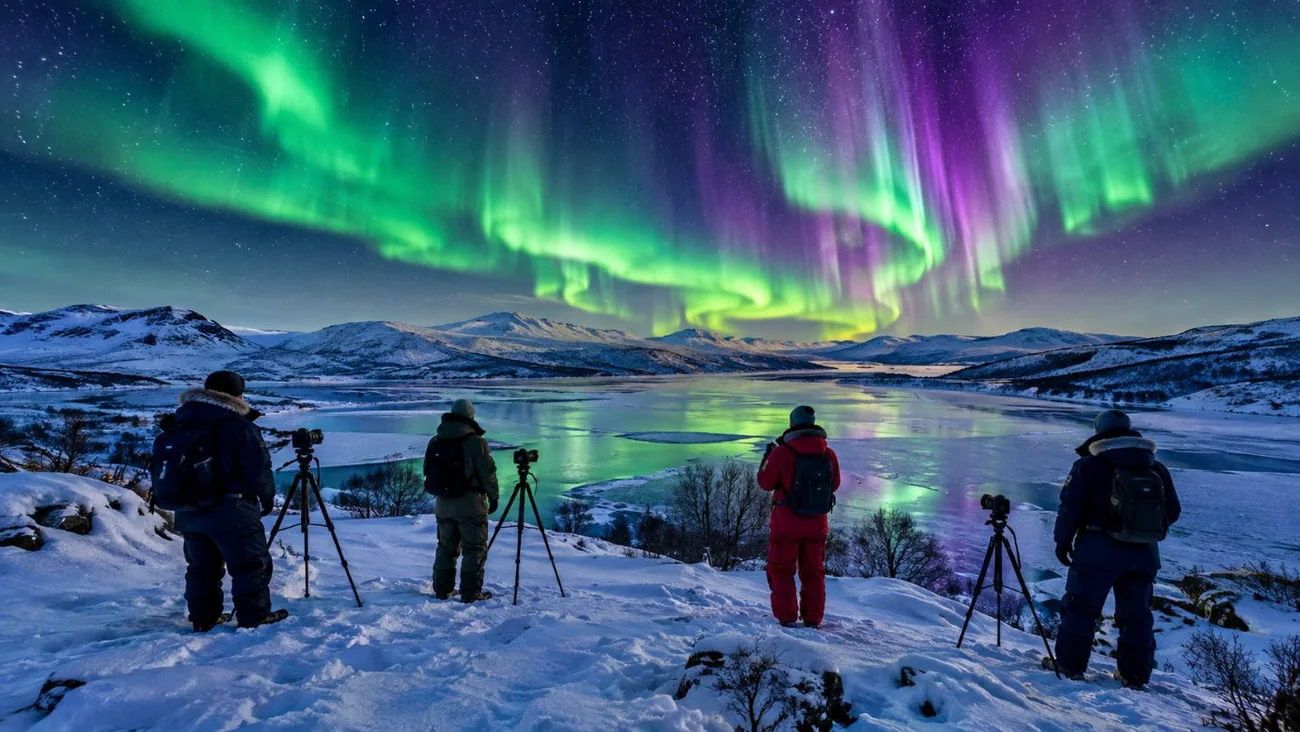
Carry spare batteries warm inside your jacket, swap them as they fade, and keep the camera in its closed bag when you go indoors so it warms slowly.
Lithium batteries lose charge quickly in the cold and recover when warmed, so a dead one in the field is often fine again back in your pocket. Bring at least two spares, more for a long chase or a night at the glass lavvo.
Condensation is the other trap. Carry a cold camera into a warm car or hotel and it fogs up, inside and out. Close it in its bag first and let it warm up there, as Capture the Atlas suggests. Don't breathe on the lens to clean it: in the cold it freezes.
Where are the best places near Tromsø to photograph the northern lights?
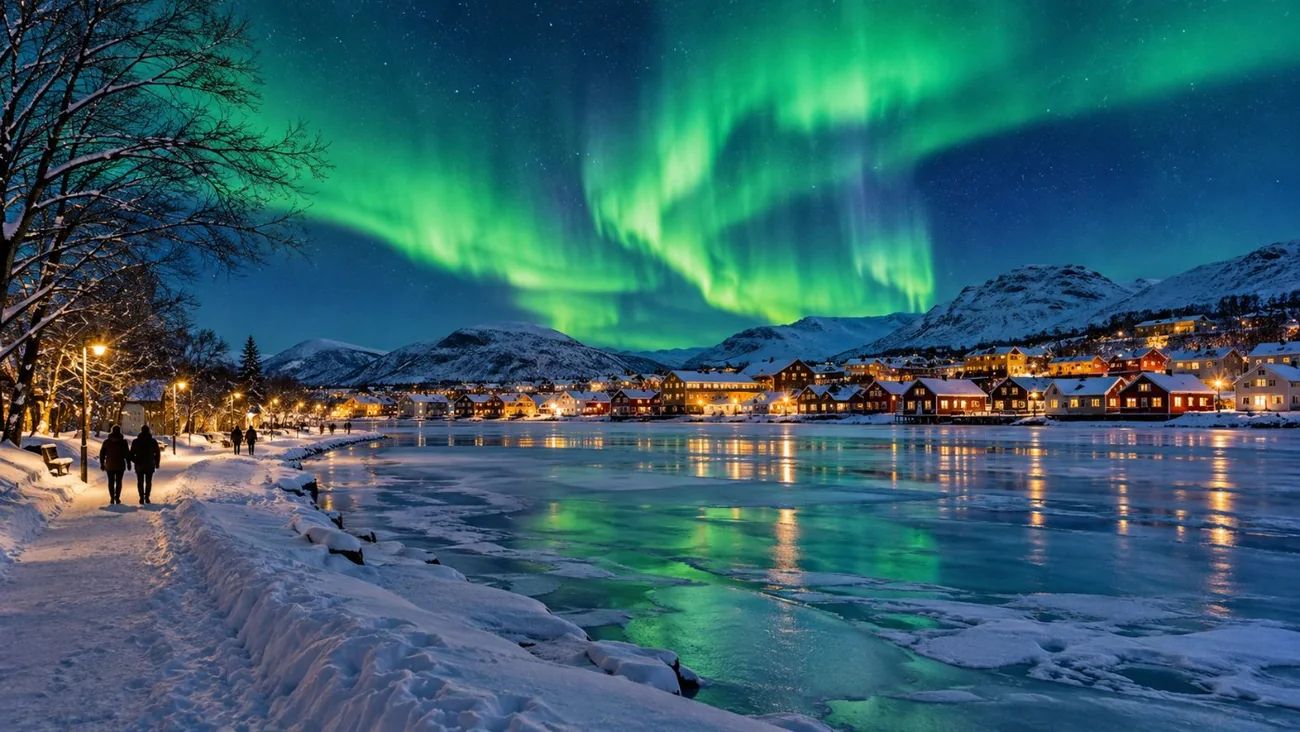
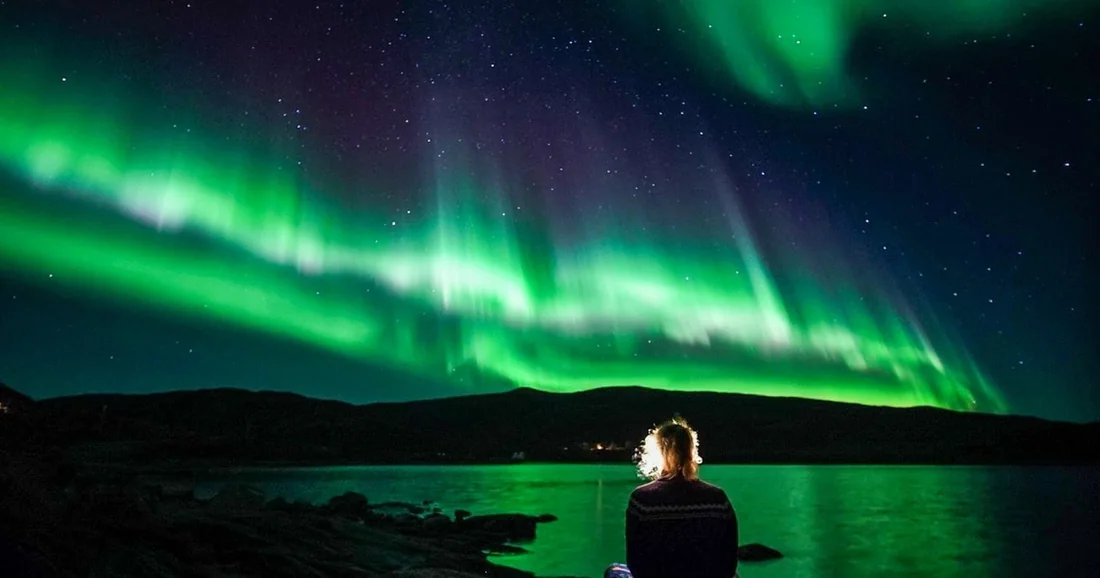
For a town scene, the harbour with the Arctic Cathedral and the bridge. For dark skies and reflections, Telegrafbukta, Prestvannet or the fjords on Kvaløya.
A good aurora photo needs something on the ground: a mountain, a reflection, a church, a person. In town, the north jetty gives you the cathedral and bridge together, with light from the city to match. At Telegrafbukta the shore faces open water and mountains. Out on Kvaløya, Ersfjordbotn's calm water mirrors the sky. Details for each in seeing the lights without a tour.
From the top of the Fjellheisen cable car you can shoot the whole lit city, the bridge and the sky above, which is a different picture from anything on a chase.
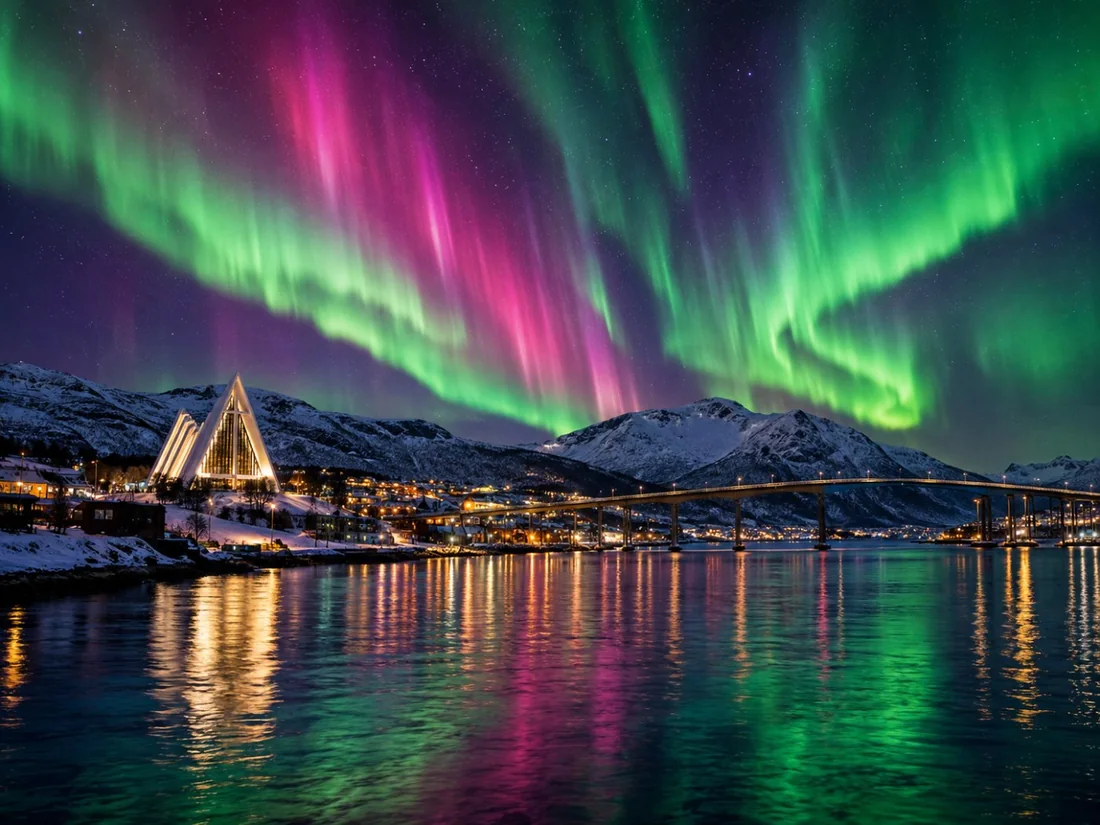
Shoot the city from 421 metres up: the cable car runs until midnight.
Book thisDo northern lights tours take photos for you?
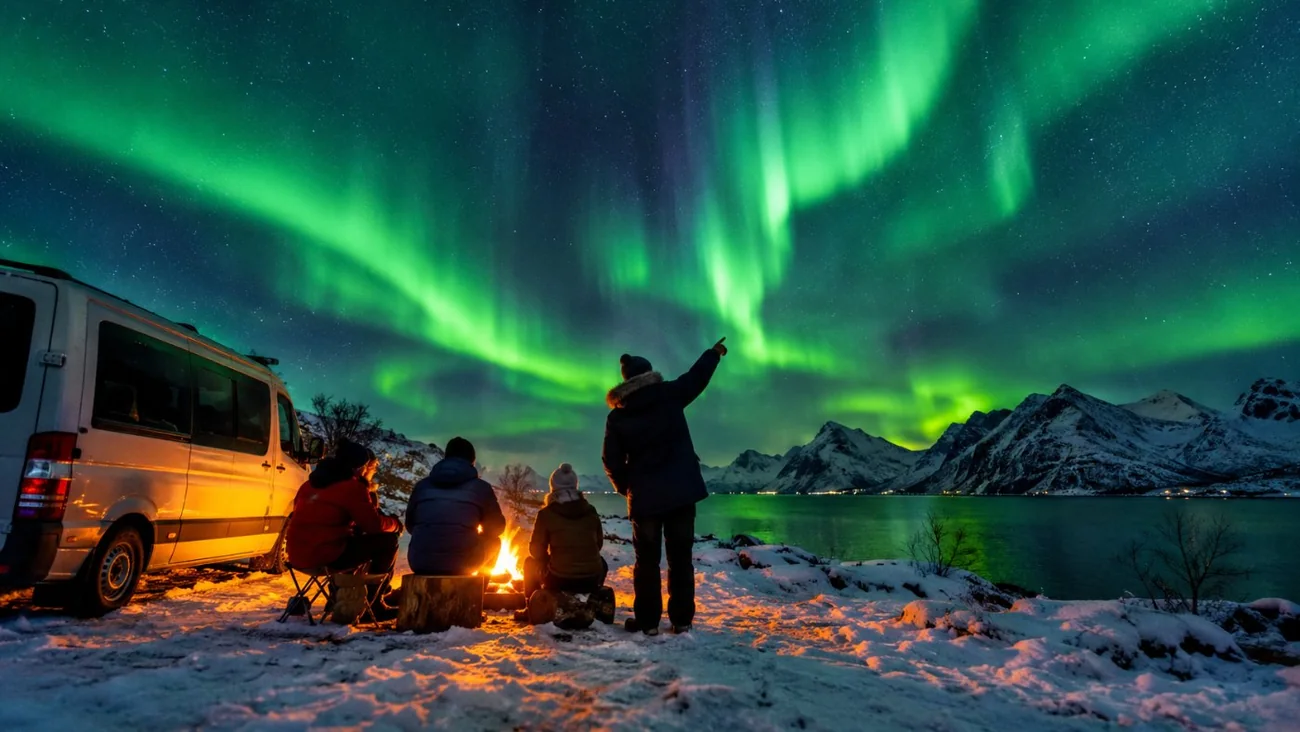
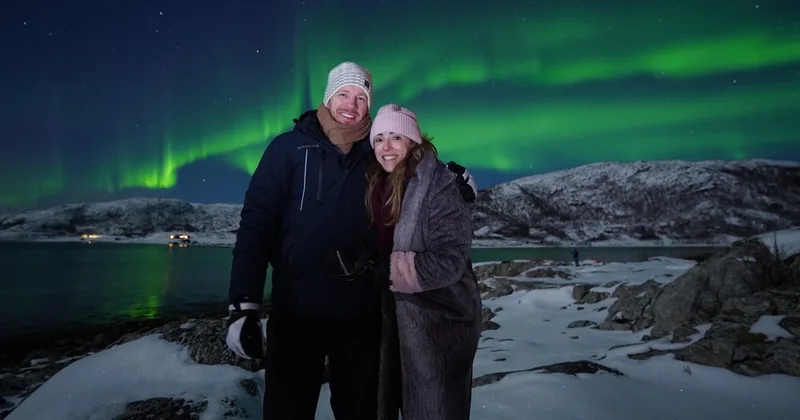
Almost all the chases here do, and several guides will also help with your settings. Portraits under the aurora are part of many tours.
- The minibus chase: a photographer takes portraits and photos, included, and the guide helps with camera settings.
- The no-limit chase: photos within 48 hours on the short option, within 10 hours on the long one.
- The all-inclusive tour: photo instructions, a portrait, and photos the next day.
- The free-repeats coach: professional photos at no extra cost, delivered in three to five days.
- The Camp Tamok night: northern lights portraits shared within 48 hours.
If you want to learn rather than receive, the photography tour is the one built around your own camera.
A photographer, a portrait under the lights and help with your own camera, on a minibus chase.
Book thisHow do you photograph people in front of the northern lights?
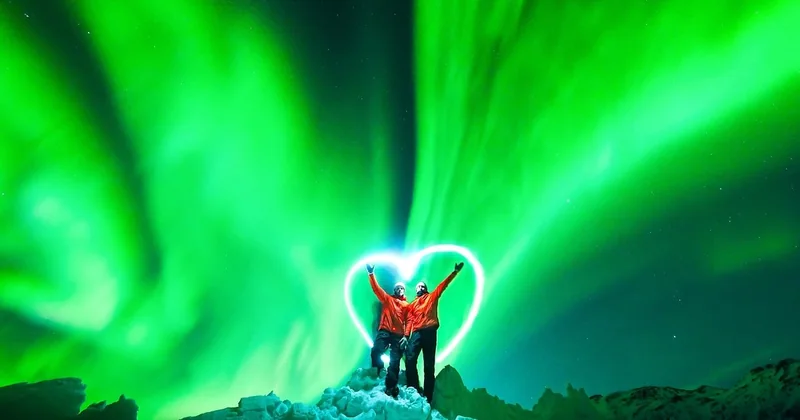
Ask your subject to stand very still for 2 to 4 seconds, raise the ISO, and light their face briefly and softly with a dimmed headtorch held off to the side.
Keep the person a few metres from the camera so focus on the stars still holds them reasonably sharp, or focus on them and accept softer stars. Light painting needs a touch: a one-second sweep from a dim torch is plenty, and a phone screen works in a pinch.
Ask before shining a torch near other groups. Every chase has someone mid-exposure. This is also where tour guides earn their keep, since they do it every night.
Frequently asked questions
What is the best lens for northern lights photos?
A wide lens between 12 and 24 mm with an aperture of f/2.8 or wider. Fast primes at f/1.8 give the cleanest images; kit zooms work on bright nights.
Is a full moon bad for northern lights photos?
Not necessarily. A full moon makes faint aurora harder to see, but lights the snowy landscape. The photography tour's listing notes the same trade-off.
Should I shoot in RAW?
Yes, if your camera allows it. RAW files keep far more detail in the dark foreground and the bright aurora for editing.
Can I take northern lights photos on a cruise?
With a phone or high ISO, yes, but a moving boat rules out long exposures. Expect sharper results on land.
Ready to book
Choose your night
Free cancellation up to 24 hours before on every option here.
Northern Lights Photography Tour
Hands-on help with your own camera settings
Northern Lights Minibus Chase with Photos
- Minibus transport, drop-off at central hotels
- Thermal suit and hot chocolate
- Bonfire while you wait for the sky
Small-Group Chase: We Drive Until We Find Them
- Small group, maximum 15 guests
- Choose 5 hours or the 6 to 8 hour unlimited chase
- Thermal suits, snacks and hot drinks